Mast and engine are UP!

So, after so long the mast is going up again and the engine is also going onboard.
It took about 2 hours and the help of a crane.


New rigging, vhf antenna and windex

So, few days before stepping the mast I had to place all the new rigging (stays and ropes) plus the new antenna (vhf) and the vindex. Also I have installed a new shackle for the boom topping lift oversized as it will be also used to lift the engine during the shaft alignment works.
Also the new stainless steel tabernacle has been placed and the wooden step prepared.


Bilge Paint

It was about time to refresh the bilge.

It is now dry and i have applied a layer of epoxy resin both under the shaft box and on the bilge floor.

I have chose to use white epoxy to get more brightness. we'll see if in the future I'll go back to grey bilge paint as i guess the white one will get dirty very easily.


Backing plates

Another long job was to first understand what type of backing plates I should put and then make them.

At first I thought I would repeat the fiberglass cover without the backing plates like the old thoughulls were.

But after long hours and nights wondering and asking the web I have decided to make round backing plates made of marine plywood soaked in epoxy resin so this work should last for many years to come.


Engine supports

Having to instal a different inboard engine I had to take a lot of measures and adapt the rails so that the new (1972) engine could be placed.

I must say even though I took every possible measure and spent endless hours on it it still felt like a total guess. In the end it worked!
The new engine is longer so i needed to move forward the 2 steel rails (luckily someone placed those before me on top of the fiberglass mounts),

I had to get the iron worker to build some steel that would support at 45 degrees the tip of the rails that is no longer touching the fiberglass.


Hatches

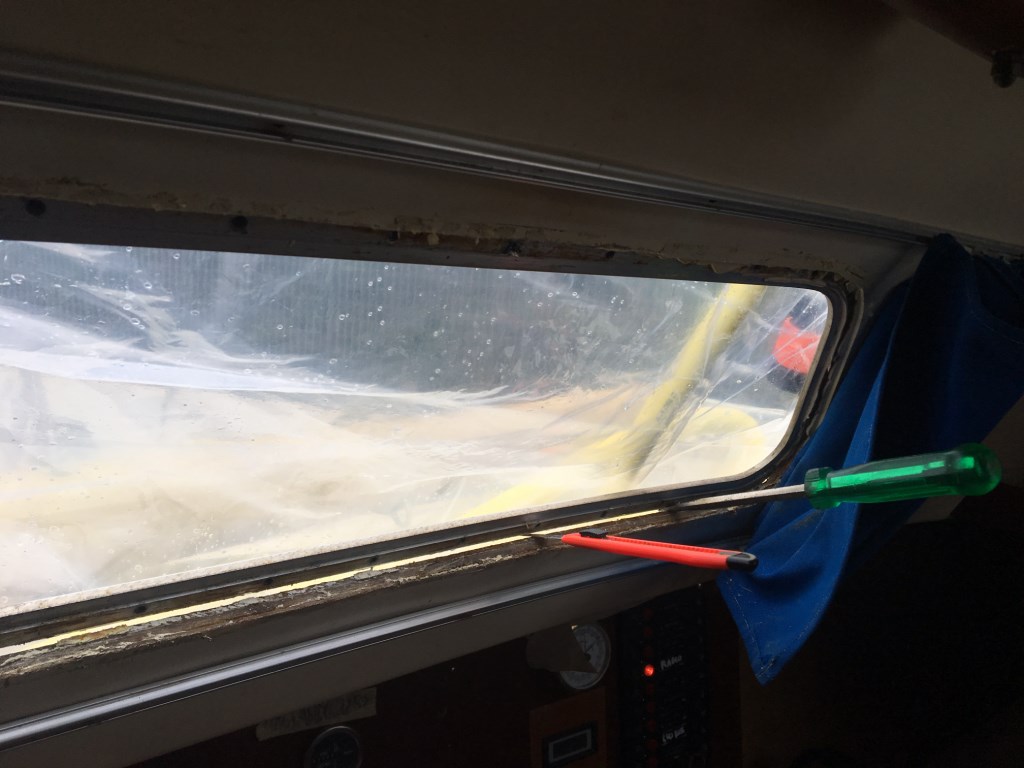
The cabin hatches where leaking some water since long time so it was about to get them fixed.

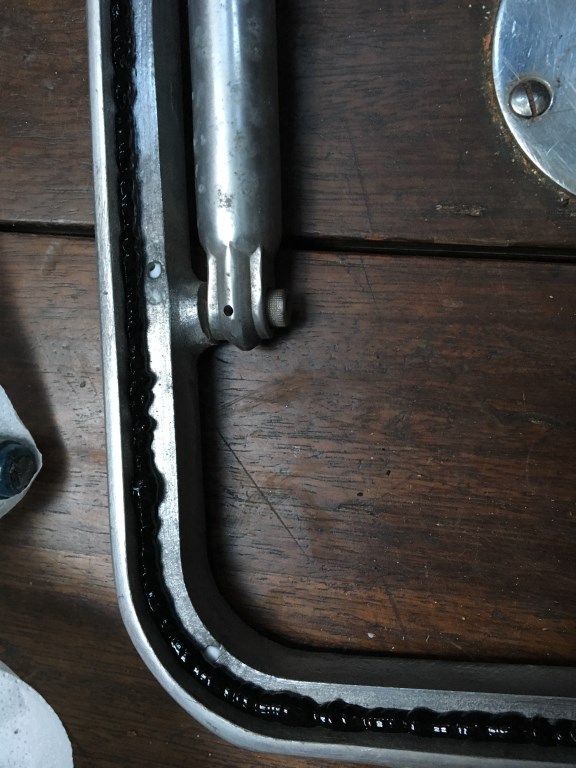
It has been a really hard job since the stainless screws were stuck in the aluminium frame.
Some have to be drilled out some came off after many hours of wd-40 and attempts.

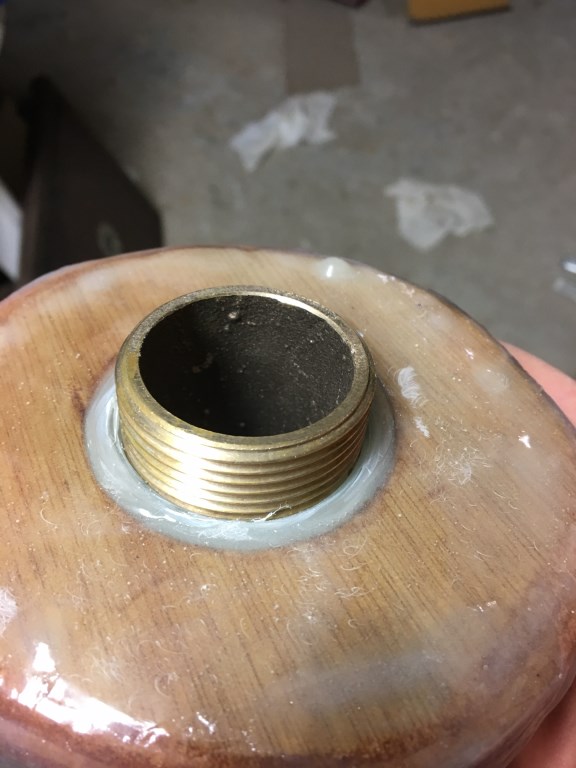
The old sealant was really hardened in some points and therefore retting the water in.
If I have to re-do a similar job in the future I would consider just applying epoxy resin from the outside of the hatch between glass, frame and fiberglass. much quicker and guaranteed result.


Finally the hull is dry - It's Epoxy time

When I have started this project (september '17) I thought i was going to be sailing in March. well...that was not the case. it's b...